What You Bring
The kit includes motors, navigation electronics, and all mounting hardware. You supply:
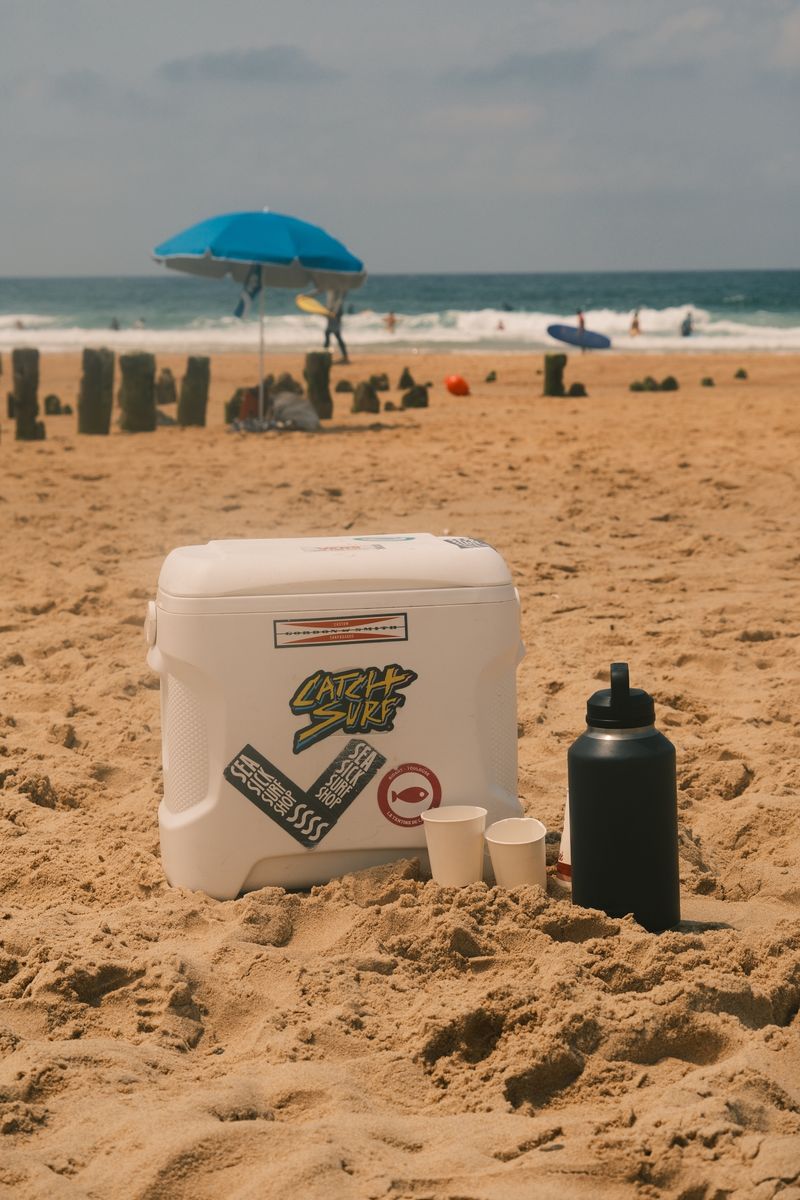
- Wheeled cooler — 40-60 quart with built-in wheels (Igloo, Coleman, YETI — wheels must be removable or adaptable)
- Raspberry Pi 4 / 5 — runs GPS navigation, BLE tracking, and obstacle avoidance
- microSD card — 16GB recommended
- 12V LiPo battery pack — 5000mAh+ for motor power (separate from cooler contents)
- USB battery pack — 5V/3A for the Pi (or use included voltage regulator from 12V main battery)
What's Included in the BYOB Kit
- Two 12V gear motors with wheel adapters
- BTS7960 dual motor driver
- GPS module (u-blox NEO-6M) with antenna
- BLE beacon keychain for follow-me mode
- 9-DOF IMU (accelerometer + gyro + magnetometer)
- Ultrasonic sensor array (4x HC-SR04) with mounting brackets
- 12V-to-5V buck converter for Pi power
- Pre-crimped wiring harness with labeled connectors
- Motor and sensor mounting brackets (3D-printed)
- Complete source code, wiring diagrams, and setup documentation
What You Bring
The Full Send Kit includes all electronics and hardware. You supply:
- Wheeled cooler — 40-60 quart with built-in wheels (Igloo, Coleman, YETI — wheels must be removable or adaptable)
- 12V LiPo battery pack — 5000mAh+ for motor power (separate from cooler contents)
- USB battery pack — 5V/3A for the Pi (or use included voltage regulator from 12V main battery)
What's Included in the Full Send Kit
- Raspberry Pi 4B — pre-loaded with GPS navigation software
- 16GB microSD card — pre-imaged with Raspberry Pi OS and kit software
- Two 12V gear motors with wheel adapters
- BTS7960 dual motor driver
- GPS module (u-blox NEO-6M) with antenna
- BLE beacon keychain for follow-me mode
- 9-DOF IMU (accelerometer + gyro + magnetometer)
- Ultrasonic sensor array (4x HC-SR04) with mounting brackets
- 12V-to-5V buck converter for Pi power
- Pre-crimped wiring harness with labeled connectors
- Motor and sensor mounting brackets (3D-printed)
- Complete source code, wiring diagrams, and setup documentation
The Build
Take any wheeled cooler and turn it into an autonomous delivery platform. Three modes: RC control for direct driving, follow-me mode where the cooler tracks a Bluetooth beacon you carry, and fully autonomous GPS waypoint navigation. Add LED strips and a speaker for personality, and you've got the ultimate backyard party assistant.
This build combines motor control, sensor fusion, and navigation algorithms. The cooler keeps drinks cold while the Raspberry Pi brain navigates around obstacles, follows GPS coordinates, or trails behind you like a loyal robotic dog. Perfect for tailgating, camping, or impressing your neighbors.
Competition Events
Navigation Challenge: Autonomous GPS waypoint course. Hit all checkpoints within 10 minutes without operator intervention.
Utility Demonstration: Follow-me mode reliability test. Walk a 100-meter course with obstacles — cooler must maintain 2-3 meter following distance.
Freestyle: Judges score on functionality, build quality, and innovation. Bonus points for personality features.
Choose Your Cooler
You want a wheeled cooler in the 40-60 quart range. Avoid tiny personal coolers (not enough room for electronics) and giant 100+ quart beasts (too heavy for the motors). Look for models with large, durable wheels — at least 6 inches in diameter.
Check that the wheel axles are accessible. Some coolers have sealed hubs that make motor mounting difficult. Removable wheels are ideal — you'll be replacing or augmenting them with the drive system.
Motor Drive System
The kit includes two gear motors with wheel adapters. You have two options: replace the existing wheels entirely with motorized hubs, or add the gear motors with chain/belt drive to the existing axle.
Direct hub replacement is cleaner but requires drilling and mounting brackets. Chain drive is more flexible and easier to tune. Either way, you're driving the rear wheels — the front caster or swivel wheel handles steering.
// Motor control with BTS7960 driver
motor_left.setSpeed(255);   // Full forward
motor_right.setSpeed(255);
// ... full PWM control and steering logic in project files
Power System
Separate power for motors and electronics. The motors run on a 12V LiPo (3S 5000mAh recommended), while the Pi and sensors run on a 5V buck converter or USB battery bank. Never share power rails — motor noise will crash the Pi.
Mount the battery inside the cooler, secured with velcro straps. Keep it away from the ice chamber — condensation and lithium don't mix. Use XT60 connectors for easy swapping and a master power switch for emergency shutoff.
Navigation Brain
Raspberry Pi 4 is the brain. Mount it in a waterproof project box on the cooler lid or exterior wall. Connect the GPS module (USB or UART), IMU for heading and tilt, and the ultrasonic sensor array for obstacle detection.
The IMU provides compass heading and detects if the cooler tips or gets stuck. The GPS gives you waypoint navigation. Combine them with a simple sensor fusion algorithm and you get reliable outdoor navigation.
// GPS waypoint navigation (simplified)
while (distance_to_waypoint > 1.0) {
  heading_error = target_heading - imu.heading();
  adjust_steering(heading_error);
// ... full navigation controller in project files
Follow-Me Mode
The kit includes a BLE beacon keychain. Clip it to your belt or backpack. The Pi scans for the beacon's RSSI (signal strength) and steers toward it, maintaining a 2-3 meter following distance.
Combine beacon tracking with ultrasonic obstacle avoidance — if the cooler detects something in its path, it stops and waits for a clear route. Simple state machine: seek beacon, avoid obstacles, maintain distance.
Obstacle Avoidance
Four ultrasonic sensors cover front and sides (left-front, center-front, right-front, rear). Mount them on brackets at wheel height, angled slightly outward for wider coverage.
Detection logic: if any sensor reads less than 0.5 meters, stop motors. If left sensor triggers, steer right. If right sensor triggers, steer left. In follow-me mode, wait for the obstacle to clear. In autonomous mode, attempt path correction or request operator intervention.
Personality Features
LED strips add visibility and flair. Mount them along the cooler edges, powered by the 12V rail with a buck converter to 5V or 12V strips directly. Use addressable LEDs (WS2812B) for animations — pulse when idle, chase pattern when moving, red flash when obstacle detected.
A small speaker and MP3 module let you add sound effects. Play a chirp when starting, a "delivery arriving" announcement in autonomous mode, or a low-battery warning. Keep it simple — you're not building R2-D2.
Project Files — Included with BYOB Kit
Complete source code, wiring diagrams, and documentation. Enter your kit code to unlock.
Don't have a code? Get the kit — code included in every box.